
Here's a sobering statistic that might make you rethink your next repair bill: 40% of all car breakdowns are caused by electrical system failures.
Modern vehicles house over 70 sensors monitoring everything from engine performance to emissions control. Yet most car owners approach these electronic components with the same confidence as handling a live wire.
"My scanner will tell me what's wrong," is what I hear from many DIY enthusiasts. But here's the reality check: code readers point you in the right direction, while multimeters reveal the truth. Think of it this way, a code reader is like a symptom checker, but a multimeter is your diagnostic scalpel.
The multimeter transforms the mysterious black box of automotive electronics into readable voltage, resistance, and current values. This guide will demystify the process and show you exactly how to test the critical sensors and actuators that keep your engine running smoothly.
Essential Multimeter Setup for Automotive Testing
Before diving into specific tests, proper preparation saves hours of frustration later. Your multimeter becomes an extension of your diagnostic capabilities, but only when used correctly.
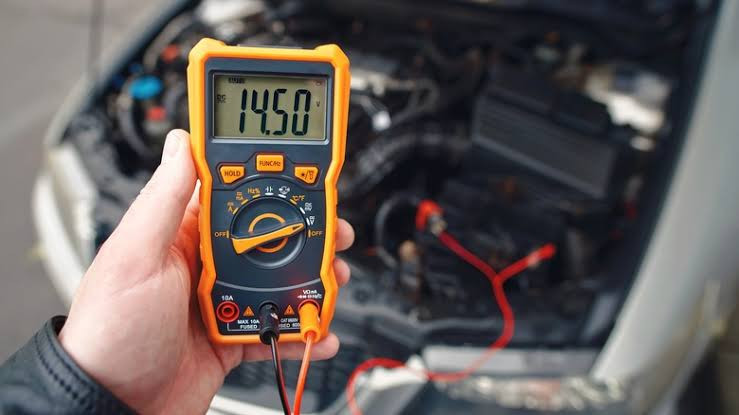
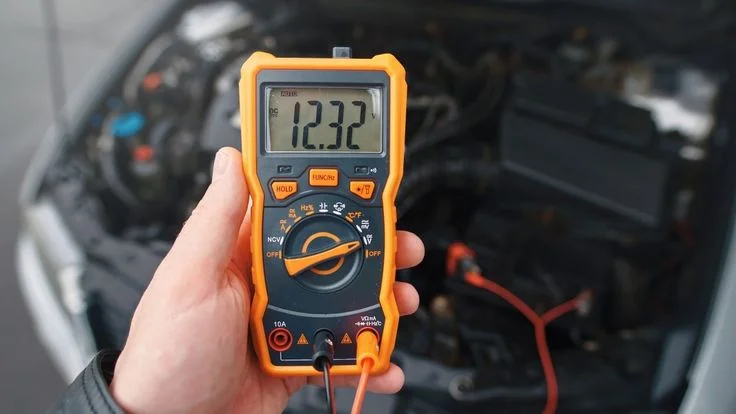
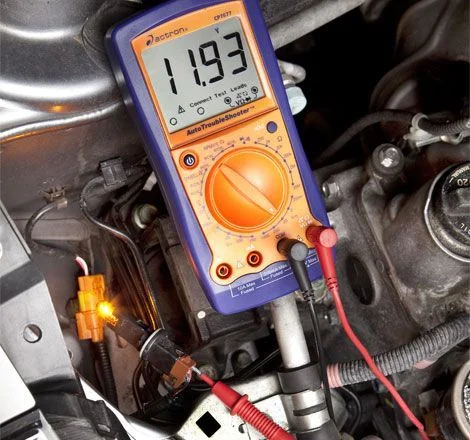
Start with a quality digital multimeter capable of measuring DC voltage (0-20V), AC voltage, resistance (ohms), and current (amps). The Fluke 88V remains the gold standard for automotive work, offering specialized automotive functions like RPM measurement and pulse width detection.
Safety comes first. Disconnect the battery negative terminal before testing resistance on any component. Work with the engine cool whenever possible. Sharp probe tips damage delicate connector terminals, so invest in back-probing tools that slip behind connector seals without puncturing wires.
- Pro Testing Technique: Always consult your vehicle's service manual for specification ranges. Generic values work for understanding concepts, but manufacturer specifications ensure accurate diagnosis.
Testing Critical Engine Sensors
1. Oxygen (O2) Sensor
The oxygen sensor acts as your engine's feedback mechanism for fuel mixture control. A properly functioning O2 sensor switches rapidly between lean (0.1V) and rich (0.9V) readings.
Voltage Test Procedure:
Set your multimeter to DC voltage (20V range). Back-probe the signal wire (usually white or gray) while the engine runs at operating temperature. Watch for voltage fluctuations between 0.1V and 0.9V occurring several times per second.
Resistance Test:
With the engine off and sensor cool, check heater circuit resistance between the heater terminals (typically 4-14 ohms). Values outside this range indicate heater failure.
"My O2 sensor reads steady voltage around 0.45V," indicates a lazy or contaminated sensor that isn't switching properly between rich and lean conditions.
2. Mass Airflow (MAF) Sensor
MAF sensors measure incoming air volume, directly affecting fuel injection calculations. These sensors typically operate on 12V supply with 5V reference signals.
Testing Hot-Wire MAF:
With ignition on and engine off, measure supply voltage at the MAF connector (should read 12V). Check the 5V reference wire for proper computer signal. At idle, signal voltage typically ranges from 0.8V to 1.5V, increasing with throttle opening.
Frequency Type MAF:
Some MAF sensors output frequency signals rather than voltage. Set your multimeter to frequency mode and check for readings between 30-150 Hz at idle, depending on manufacturer specifications.
3. Throttle Position Sensor (TPS)
The TPS tells the computer exact throttle plate position, crucial for proper acceleration response and idle control.
Analog TPS Testing:
Connect your multimeter to the signal wire with throttle closed (should read 0.5-1.0V). Slowly open the throttle while watching voltage increase smoothly to 4.0-4.5V at wide-open throttle. Any jumps, dropouts, or erratic readings indicate a faulty sensor.
Digital TPS (Drive-by-Wire):
Modern electronic throttle systems use different testing procedures. Check for 5V reference and proper ground, then monitor signal patterns during throttle operation.
4. Engine Coolant Temperature (ECT) Sensor
ECT sensors use thermistor technology, resistance decreases as temperature increases. These sensors directly affect fuel delivery, ignition timing, and cooling fan operation.
Resistance Testing:
Remove the sensor and measure resistance across terminals. At 68°F (20°C), expect approximately 2,300-3,000 ohms. At 200°F (93°C), resistance drops to 200-300 ohms. Compare your readings to manufacturer specifications for your specific vehicle.
Live Testing:
With sensor connected, check voltage across signal and ground wires. Cold engine voltage reads around 2-3V, dropping to 0.5-1.0V when fully warmed.
5. Manifold Absolute Pressure (MAP) Sensor
MAP sensors monitor intake manifold vacuum/pressure, helping calculate engine load and fuel requirements.
Voltage Testing:
Most MAP sensors operate on 5V reference with signal output varying from 1V (high vacuum/idle) to 4.5V (low vacuum/wide-open throttle). Rev the engine while monitoring signal voltage - it should increase smoothly with throttle opening.
Vacuum Testing:
Apply known vacuum with a hand pump while monitoring sensor output. At sea level, expect approximately 1V output at 20 inches Hg vacuum.
6. Crankshaft Position Sensor
This critical sensor tells the computer exactly when to fire spark plugs and inject fuel. Failure prevents starting.
Magnetic Pickup Type:
These sensors generate AC voltage as crankshaft reluctor teeth pass the sensor. With engine cranking, expect 0.5-2.0V AC output increasing with RPM.
Hall Effect Type:
Hall sensors require 12V supply and 5V reference, producing square-wave digital signals. Check for proper supply voltages, then monitor signal pattern during cranking.
"My car cranks but won't start" often points directly to crankshaft position sensor failure, especially on high-mileage vehicles.
7. Camshaft Position Sensor
Works alongside the crankshaft sensor to determine exact piston position for sequential fuel injection and proper ignition timing.
Testing Procedure:
Similar to crankshaft sensors, cam sensors come in magnetic pickup and Hall effect varieties. Test supply voltages first, then check signal output during engine cranking. Look for clean, consistent waveforms without dropouts or irregular patterns.
8. Intake Air Temperature (IAT) Sensor
IAT sensors modify fuel delivery based on incoming air temperature. Cold air is denser and requires more fuel for proper combustion.
Resistance Method:
Like ECT sensors, IAT uses thermistor technology. At 68°F (20°C), expect 2,000-6,000 ohms depending on manufacturer. Heat the sensor with a hair dryer while monitoring resistance, it should decrease smoothly.
9. Knock Sensor
Detects engine detonation (knock) and retards ignition timing to prevent engine damage. These piezoelectric sensors generate small voltage signals when vibration occurs.
Testing Technique:
With engine running, lightly tap near the sensor location with a small hammer while monitoring sensor output on your multimeter's AC voltage scale. You should see voltage spikes corresponding to your taps.
10. Vehicle Speed Sensor (VSS)
Provides vehicle speed information for speedometer, transmission control, and ABS operation.
Signal Testing:
Most VSS units generate square-wave pulses. Count pulses per wheel revolution or measure frequency output. Specifications vary widely between manufacturers, so consult service data for your specific vehicle.
Testing Automotive Actuators
1. Fuel Injectors
Fuel injectors are electromagnetic solenoids that precisely control fuel delivery. They operate on pulse-width modulation, longer pulses deliver more fuel.
Resistance Testing:
Disconnect injector connector and measure resistance across terminals. Most port fuel injectors read 12-16 ohms, while direct injection units may read 0.5-2.0 ohms.
Pulse Width Testing:
With injector connected and engine running, set your multimeter to measure pulse width (milliseconds). Idle pulse width typically ranges from 2-4 milliseconds, increasing with throttle opening and engine load.
Current Draw Testing:
Advanced diagnosis involves measuring injector current draw during operation. Connect a current clamp around the injector positive wire and observe the waveform pattern.
"My injectors click but the engine runs rough" suggests electrical operation is normal, but fuel delivery patterns may be compromised.
2. Ignition Coils
Modern coils pack tremendous voltage transformation capability into compact packages. Primary resistance typically measures 0.5-2.0 ohms, while secondary resistance ranges from 5,000-15,000 ohms.
Primary Circuit Testing:
Measure resistance across the two primary terminals (usually the larger connector). Values outside specification indicate internal coil damage.
Secondary Circuit Testing:
Measure between primary and secondary terminals for secondary resistance. Infinite resistance indicates an open secondary winding.
3. Idle Air Control (IAC) Valve
IAC valves control engine idle speed by regulating airflow around the closed throttle plate.
Stepper Motor Type:
These units typically show 10-40 ohms resistance between adjacent terminals. Test all winding combinations and compare to specifications.
Solenoid Type:
Single-winding IAC valves measure 7-14 ohms across the two terminals. Listen for valve operation clicks during testing.
4. EGR Valve (Exhaust Gas Recirculation)
EGR valves reduce NOx emissions by introducing exhaust gas into the intake manifold during specific operating conditions.
Vacuum-Operated EGR:
Apply vacuum with a hand pump while monitoring valve stem movement. The valve should open smoothly without sticking or binding.
Electronic EGR:
Check motor resistance (typically 5-20 ohms) and monitor position sensor feedback voltage as you manually operate the valve.
5. Variable Valve Timing Solenoids
These solenoids control oil flow to variable timing actuators, optimizing performance across different RPM ranges.
Resistance Testing:
Most VVT solenoids measure 6-12 ohms resistance. Values significantly outside this range indicate solenoid failure.
Flow Testing:
Advanced testing involves checking oil flow patterns, but basic electrical continuity confirms solenoid coil integrity.
6. Cooling Fan Motors
Electric cooling fans draw substantial current when operating. Normal current draw ranges from 8-15 amps for single-speed fans.
Current Testing:
Connect current clamp around the positive feed wire and monitor amperage during fan operation. Excessive current indicates bearing wear or internal motor problems.
Voltage Drop Testing:
Measure voltage at the fan motor during operation. Less than 11V indicates excessive resistance in the power supply circuit.
Advanced Diagnostic Techniques
Parasitic Current Draw Testing
"My battery keeps dying overnight" points to excessive parasitic current draw. Modern vehicles typically draw 25-50 milliamps with all systems off.
Testing Procedure:
Connect your multimeter in series between battery negative terminal and negative cable. Wait 20-30 minutes for all control modules to enter sleep mode, then record current draw. Remove fuses one at a time to isolate excessive draw circuits.
Voltage Drop Testing
Voltage drop testing reveals hidden resistance in power and ground circuits that cause seemingly mysterious electrical problems.
Starter Circuit Test:
With engine cranking, measure voltage drop across positive and negative battery cables. Total voltage drop shouldn't exceed 0.5V on either side of the circuit.
Ground Circuit Testing:
Connect your meter between component ground and battery negative terminal. Any reading above 0.1V indicates ground circuit resistance problems.
Real-World Testing Scenarios
Case Study: Intermittent Stalling
A customer complained of random stalling that happened "only when my wife drives the car." Investigation revealed a faulty crankshaft position sensor with intermittent signal dropout. Wiggling the connector reproduced the problem, a classic intermittent connection issue.
Diagnostic Approach:
Heat and vibration testing often reveals intermittent problems that occur only under specific conditions. Use a hair dryer to heat components while monitoring signals, or gently tap sensors while observing multimeter readings.
Case Study: Poor Fuel Economy
"My truck is using twice as much gas as normal" led to MAP sensor testing. The sensor read a constant 4.5V regardless of throttle position, indicating complete vacuum loss or sensor failure. Replacement restored normal fuel economy immediately.
Common Testing Mistakes to Avoid
- Mistake #1: Testing components at room temperature when specifications require engine operating temperature. Many sensors have completely different characteristics when cold versus hot.
- Mistake #2: Using incorrect voltage ranges on your multimeter. Always start with higher ranges and work down to prevent meter damage from unexpected high readings.
- Mistake #3: Forgetting to check reference voltages before condemning sensors. A failed computer or wiring harness can make perfectly good sensors appear faulty.
- Mistake #4: Testing resistance with power applied to the circuit. This damages both the component and your multimeter.
Professional Tips for Success
Keep a detailed testing log with component locations, wire colors, and test results. This documentation proves invaluable when patterns emerge across multiple vehicles.
Invest in quality test leads and probes. Cheap probes create more problems than they solve, especially when dealing with sensitive electronic circuits.
"The computer says it's bad, so I'll replace it" represents expensive guesswork. Always verify computer commands with actual component testing before ordering parts.
Update your understanding regularly. Automotive technology evolves rapidly, and testing procedures change with new sensor designs and communication protocols.
Conclusion
Mastering multimeter testing transforms you from parts replacer to diagnostic professional. Every voltage reading tells a story about component health and system operation. The difference between guessing and knowing comes down to proper testing technique and understanding what your measurements mean.
Remember that sensors and actuators work as integrated systems. A faulty coolant temperature sensor affects not only temperature readings but also fuel delivery, ignition timing, and transmission shift points. Comprehensive testing reveals these interconnected relationships and leads to complete repairs rather than temporary fixes.
The electrical system mysteries that once frustrated you become logical puzzles with predictable solutions. Your multimeter becomes the key that unlocks these automotive electrical secrets, saving both time and money while building genuine diagnostic expertise.
Comments (0)
Please login to join the discussion
Be the first to comment on this article!
Share your thoughts and start the discussion